Search This Blog

Showing posts with label educational crafts. Show all posts

Sunday, September 11, 2011

F is for Fluffy Flower

F is for Fluffy Flower!  This is made with coffee filters and washable markers, which I first remember doing in one of my science classes in high school (Biology, I think, with Coach DuBose).  We used three filters for each flower to make them nice and fluffy.  You color on the coffee filter with markers, then spray with water.  The color spreads out and mixes.  You definitely need to put paper towels or something underneath before spraying.  Then, let them dry.  After they're dry, fold in half, and punch a hole through both layers in the middle, near the fold.  Use a green pipe cleaner for the stem.  Put the pipe cleaner through one hole in each of the filters, then put a fairly large bead (pony beads work, or even something larger) on the pipe cleaner, fold it over, and send it through the other holes in each filter.  Twist the pipe cleaner together to keep the flower where it belongs, and maybe even shape one end of it into a leaf!  Then pull the filters gently through your fist to shape them into a flower. 
Just for fun, I rubbed a little oil from an air freshener on the inside filter near the bead to make the flower smell good!  Then it was a Fragrant, Fluffy Flower!  
At the end of the day, Miss M remembered that flower starts with F and even picked out an F from among the refrigerator magnet letters!  Elizabeth, when asked "What kind of word is 'fluffy,' if it tells us more about the flower?"  answered "An adjective!" with no prompting or help!  Yay!  It's soaking in! 

E is for Enormous Ears!

E is for Enormous Ears.  Elizabeth picked elephant ears, and Miss M picked cat ears.  I drew the ears on poster board, they colored them with markers, and I cut them out.  Then I hot glued craft foam middles on, and hot glued them to plastic headbands I just had laying around.  The girls were so excited to show off their ears when the big kids got home from school!

Thursday, September 1, 2011

D is for Dazzling Diamond


Elizabeth's Diamond
These are our dazzling diamonds!  I drew a diamond shape on poster board, outlined each section with with a black marker, and then painted one section at a time with Mod Podge (yes, we do use a lot of that at our house!).  After I'd painted the glue on one section, the girls chose one dazzling medium to fill that section with.  Besides what's shown, we also had a choice of silver star-shaped sequins, shiny green sequins, and other colors of glitter and glass pebbles.  Then I wrote Dazzling Diamond and made the Ds extra big so we could cover them with glitter to make them more memorable.  D is the first letter I'm sure Miss M remembered at the end of the day.  Another idea would be to fill the diamond with things that start with D!
Miss M's Diamond

C is for Calico Cat


C is for Calico Cat

C is for craft, too!  For this, I drew a cat shape on a piece of cardstock, then gave the girls (3 & 4) each a bowl of 1 1/2 inch squares of fabric from my scrap bag.  I painted Mod Podge on the BACK of the cat drawing (just a few inches at a time, or it dries too fast), and the girls arranged fabric squares all over the paper.  I painted over some of the squares again with the Mod Podge where they were overlapping or just not stuck down well.  Then we let them dry and I cut the cat shapes out.  For eyes, we used those flat bottomed, colored glass pebbles that you find in the silk flower section.  I don't know what those are really for, but they're pretty.  I drew the cat's eye pupil on the back, flat part with a Sharpie; from the front it looks pretty neat coming through the curve.  Then we glued on the eyes with craft glue, added a foam shape for a nose, and pipe cleaner whiskers.  We discussed how "calico" is an adjective, along with cat starts with C. 

Saturday, August 27, 2011

B is for Baby


B if for Baby!
Yesterday we worked on B and made these little wooden babies.  The blank wooden forms came from Hobby Lobby in a package of five.  The girls painted them skin (ish) color with Crayola Washable Kids Paint.  Then they picked out a square of material from my scraps, which I cut to 2 1/2 in. X 3/4 in.  We used craft glue to glue the clothes on the babies, and then I added faces with the same paint, paint pens, and Sharpie markers.  I made the bow with 1/8 in. ribbon and glued it on with craft glue.  We may make some more when G is for Girl! Or M is for Mommy, or D is for Daddy!

Thursday, August 25, 2011

A is for Alligator!

A is for Alligator!
We made these alligators because A is for alligator, and we’re working on A.  It’s made of a clothespin painted green.  The teeth are just pieces of white paper cut with pinking shears and glued on with a glue stick.  We glued the googly eyes on with craft glue, drew the nostrils with a black Sharpie, and added a piece of magnet tape to the back so he can chomp papers on the fridge!

Easy Pillowcase Backpacks


Pillowcase backpacks!
   
Step 1

For the little ones who don't get to go to school with the big kids, we made backpacks this week.  We used a pillowcase and ribbon.  I had a white, standard size pillowcase and figured out how to make these backpacks as a back-to-school, practice your name project for my four-year-old and our "extra" three-year-old.  You need wide ribbon; we used 1 1/2 inch grosgrain beca
1.  First, I cut the pillow case in half, and then cut the end seam off (not the long side seams). 

Step 2

2.  Then we tie-dyed ours, because tie-dying is so much fun! (We use the not-too-messy squirt bottle method.)  But you could also use fabric markers, paint with stencils or stamps or fingers or brushes, fabric crayons, or just pick out a pillowcase with a color or design you like just as it is. 
3.  So, after our pillowcases were dyed and washed, I cut through one side (not both!) about 5 or 6 inches from the top, unseamed side.

Step 3

4a

4b
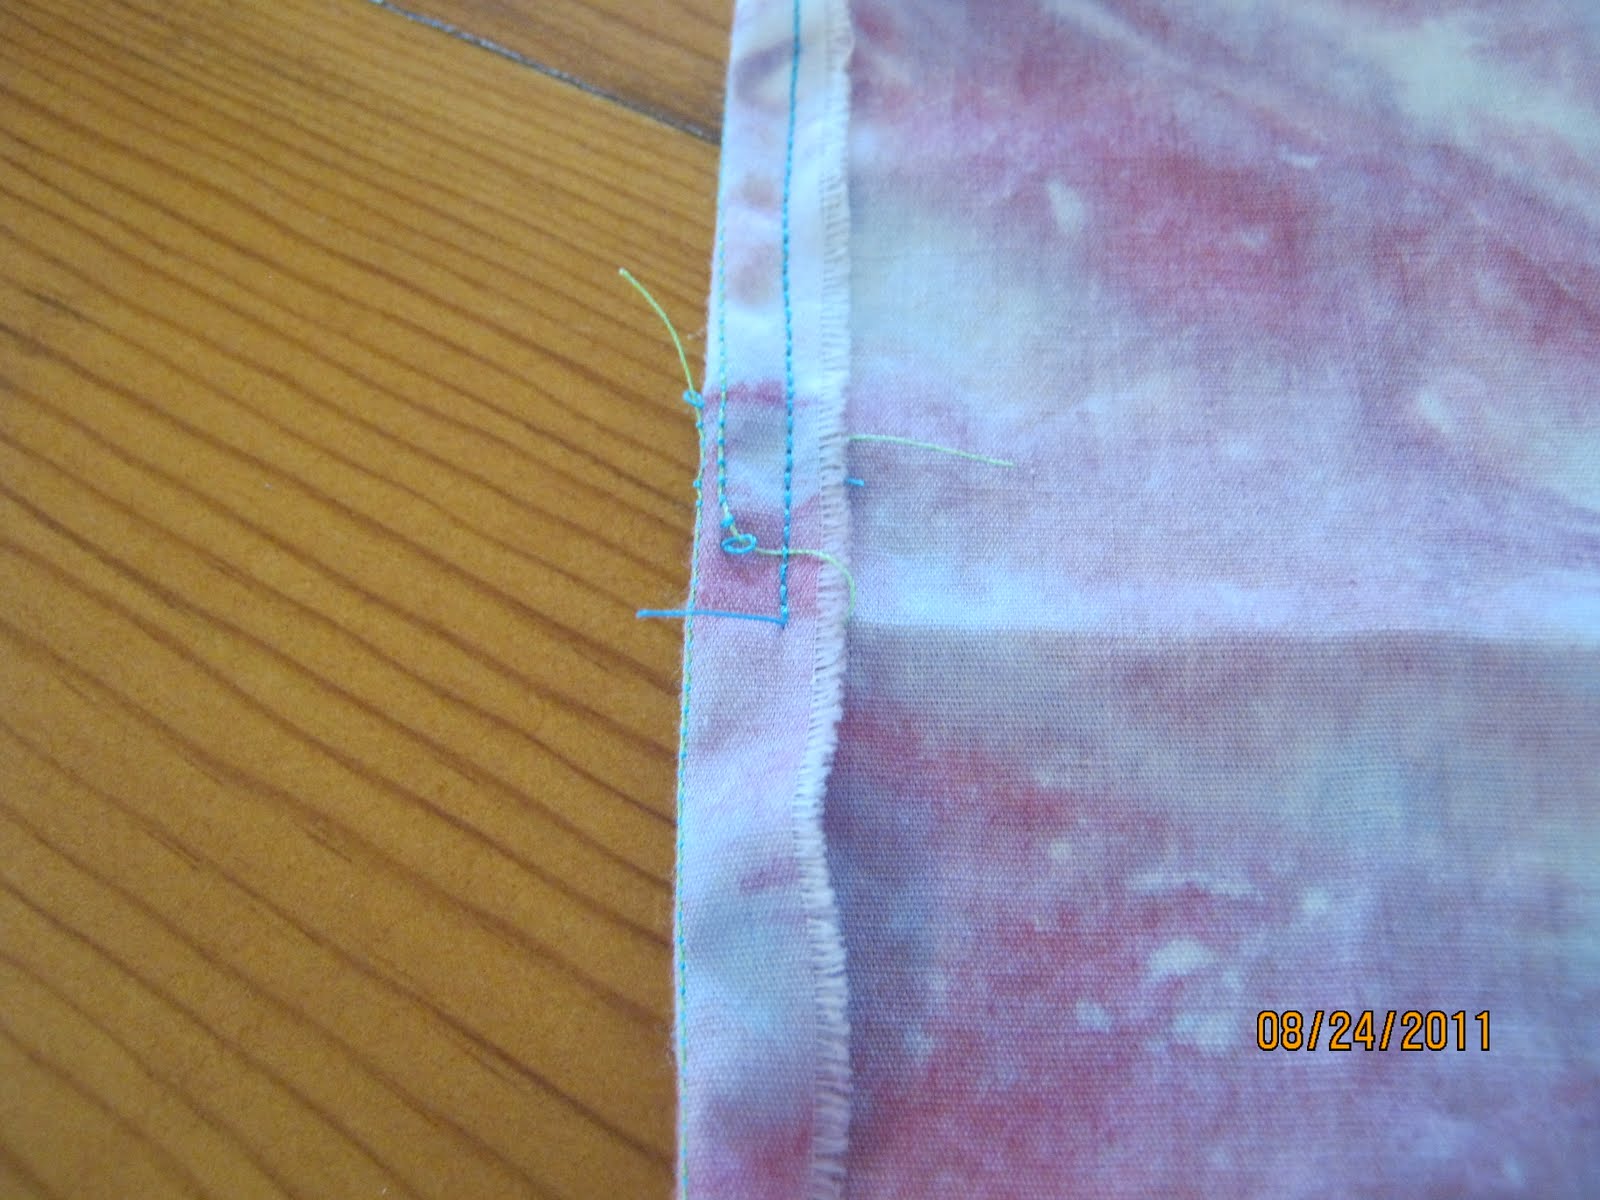
 4.  Then, I hemmed the edges of the rectangle.  If you are making two, or just using the end that was the opening of the pillowcase, you don't have to hem the parts that you didn't cut.  Hemming the top of the rectangle is necessary because that will be the flap of the backpack.  Hemming the bottom part that is going to be sewn up into the backpack is not necessary, but it keeps there from being a tangle of frayed strings inside.  To make it easier to make an even hem, I always sew around once with out folding the material at all.  The measurements are marked on the machine, so you know you are the same distance from the edge all the time, and the sewn line makes the material turn up more easily when you make your hem.  So sew around once (4a), then you fold up your hem and sew around again (4b), then you fold again to cover your cut edges, and sew close to the inside fold (4c).

4c


Step 5


5. So next, you lay your pillowcase out flat, right side facing up, with the front part of the pack (not the flap) at the top.  Then you cut two pieces of ribbon about 24 inches long.  This turned out to be quite long for us, but I tied them and knots and told myself that now they were adustable.  But 12 or 13 inches should work if you don't want "adjustable" straps.  Melt the ends the ribbon so they don't fray inside the backpack.  Then pin the end of one ribbon to the edge of the material, about 1 inch from the top.  Pin the other end of the same ribbon about 2 inches below the first one.  Make sure your loops of ribbon lay on top of your material, like in the picture.  Then do the same with the other ribbon on the other side of your backpack.  Pin the loops down in the middle, so they don't get accidentally sewn into your side seams. 

 6.  Then, fold the bottom of your rectangle up so that the original pillowcase seam is right at the bottom.  Pin the side seams of your backpack.  Then sew, using a 5/8 inch seam, just the sides of the backpack where the front and back come together.  Not the flap.  Backstitch at the top and bottom for sturdiness.  Then turn your backpack right side out.

7.  Pin a 2 - 3 inch strip of Velcro in the middle of the outside of the front (hooks or loops, it doesn't really matter which), and the matching piece in the middle of the inside of the flap.  I did ours lengthwise, for adjustability, on purpose this time.  Before you sew them down, make sure they match up and connect.  Then sew. 

Step 7

8.  For ours, I made a knot of the leftover ribbon and sewed it over the Velcro on the flap.  Then we used alphabet sponges to stamp the girls' names on with paint.  Of course, I made them find the letters for their names themselves, and we practiced spelling their names as they squished each letter into place!  They were so excited when their backpacks were done!


Ready to go!